Renovating a kitchen is one of the best ways to improve how your home looks, feels and functions. Whether you want to modernise an outdated kitchen, improve storage, change the layout or create a more practical family space, careful planning can help you achieve better results without unnecessary costs.
But how do you renovate a kitchen properly? A successful kitchen renovation involves much more than choosing new cupboards and worktops. You need to plan the layout, set a budget, choose suitable materials, consider plumbing and electrics, arrange the necessary approvals and coordinate several trades.
This guide explains how to renovate a kitchen step by step, from the initial planning stage through to the finished room.
How to Renovate a Kitchen

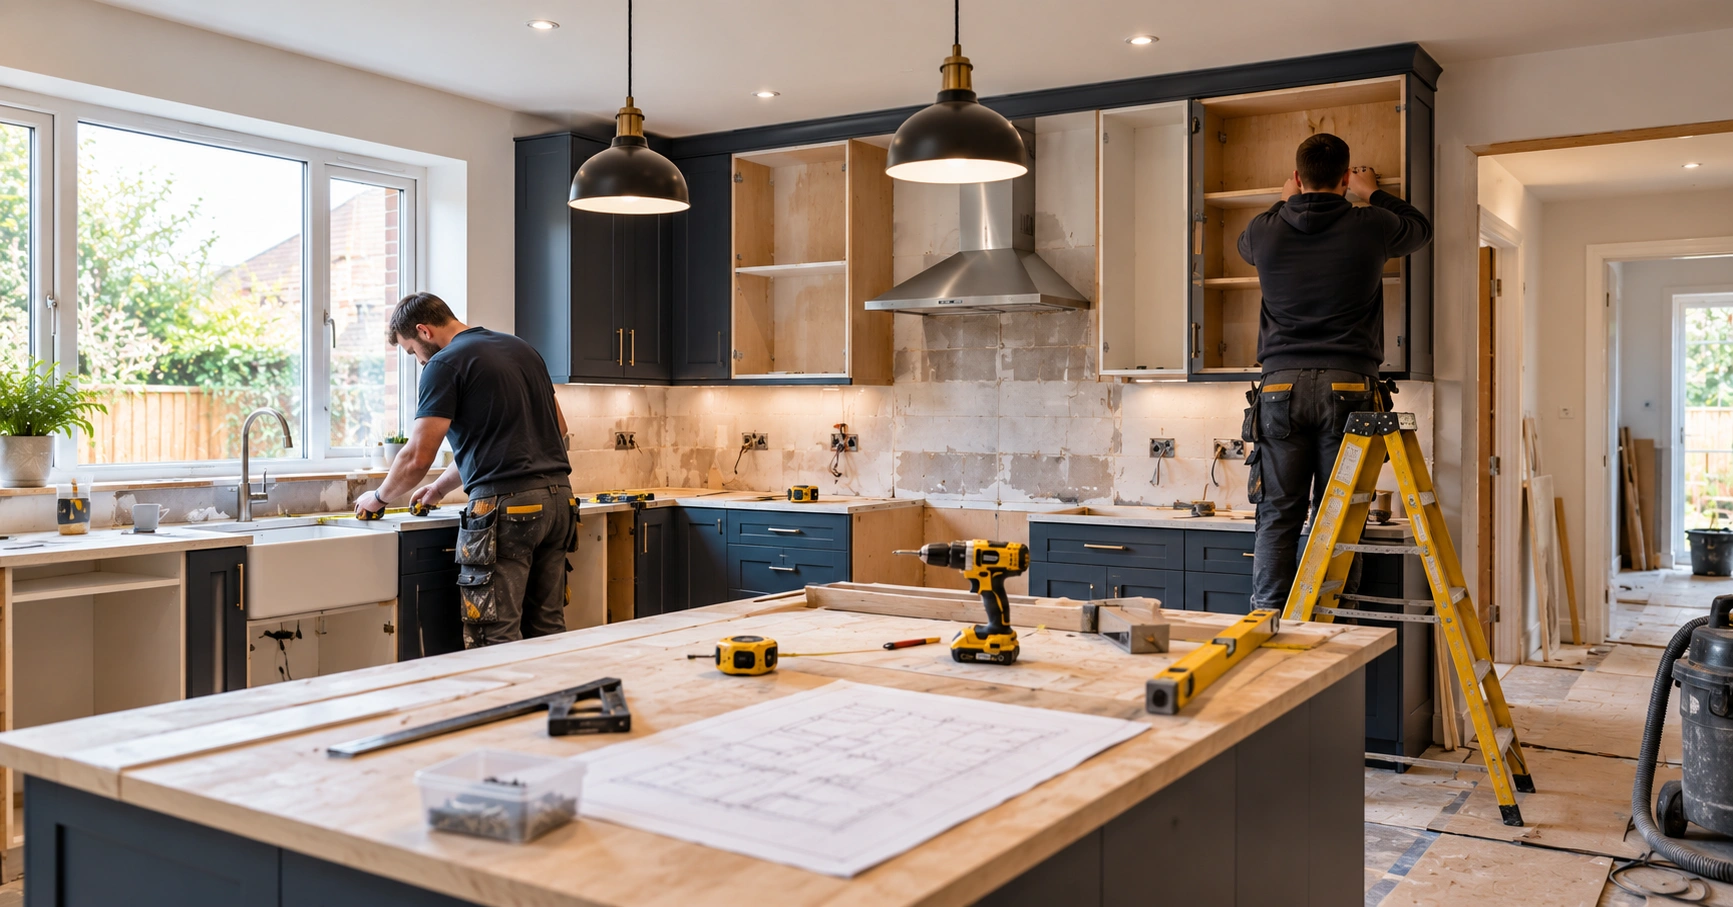
The basic kitchen renovation process is:
- Decide what you want to improve and establish your renovation goals.
- Measure the existing kitchen and assess its condition.
- Set a realistic budget, including a contingency for unexpected costs.
- Plan the new kitchen layout around how you use the space.
- Decide whether you need professional design, structural or architectural input.
- Check whether planning permission or Building Regulations approval is required.
- Choose your cabinets, worktops, appliances, flooring, lighting and finishes.
- Arrange plumbing, electrical and heating changes before installation.
- Remove the existing kitchen and prepare the room.
- Complete structural, plumbing and electrical work.
- Install cabinets, worktops, appliances and other fixtures.
- Complete flooring, tiling, decorating and final finishing.
- Inspect the completed kitchen and resolve any outstanding issues.
The exact process depends on whether you are giving the kitchen a simple refresh or carrying out a complete renovation.
What Does a Kitchen Renovation Involve?
A kitchen renovation can range from replacing a few visible elements to completely redesigning the room.
A simple renovation might involve new:
- Kitchen cabinet doors.
- Handles and hardware.
- Worktops.
- Sink and tap.
- Lighting.
- Flooring.
- Paint and wall finishes.
A full kitchen renovation may also involve changing the layout, moving plumbing, rewiring, replacing flooring, upgrading ventilation and installing new appliances.
If you are removing walls or extending the property, the project becomes more complex and may involve structural design, planning permission and Building Regulations.
Step 1: Decide Why You Want to Renovate Your Kitchen

Start by identifying what is wrong with your existing kitchen.
Ask yourself:
- Is there enough storage?
- Does the current layout make cooking difficult?
- Is there enough worktop space?
- Are appliances positioned conveniently?
- Does the kitchen receive enough natural light?
- Is the room large enough for your household?
- Are the cabinets damaged or outdated?
- Is the ventilation adequate?
- Do you want a separate dining or family area?
Understanding the problems first will help you create a renovation that improves functionality rather than simply changing the appearance.
Step 2: Set Your Kitchen Renovation Budget
Before selecting products, establish how much you can comfortably spend.
The cost of renovating a kitchen varies considerably depending on the size of the room, quality of materials, labour, appliances and whether the layout changes.
A broad UK guide could be:
- A basic kitchen renovation may cost around £6,000–£15,000 when the layout remains largely unchanged and more affordable products are selected.
- A mid-range renovation can cost around £20,000–£35,000 when you choose better-quality cabinets, worktops, appliances and finishes.
- A high-end or bespoke kitchen renovation can cost £40,000–£75,000+, particularly when you use custom cabinetry, premium materials and extensive structural or service changes.
These figures are only broad guides. Your actual cost should be based on the design, specification and property.
Always keep a contingency because older properties can reveal unexpected issues once walls, floors or services are opened up.
Step 3: Measure the Existing Kitchen
Accurate measurements are essential before designing your new kitchen.
Measure:
- Wall lengths.
- Ceiling height.
- Door openings.
- Window positions.
- Existing plumbing points.
- Radiators.
- Electrical sockets.
- Gas connections.
- Extractor locations.
- Soil and drainage connections where relevant.
Also note features that cannot easily be moved, such as structural walls, chimney breasts and service routes.
A professional kitchen designer or refurbishment contractor can help verify the measurements before ordering cabinets and appliances.
Step 4: Plan the Kitchen Layout
The layout should be based on how you actually use the kitchen.
Think about the relationship between the:
- Fridge.
- Hob.
- Oven.
- Sink.
- Dishwasher.
- Main preparation area.
- Storage.
- Dining space.
You should also allow enough room to move comfortably around doors, drawers and appliances.
Common Kitchen Layouts
Galley Kitchen
A galley kitchen uses two parallel runs of cabinets and works particularly well in narrow spaces.
L-Shaped Kitchen
An L-shaped layout places cabinets along two adjoining walls and can create a flexible cooking and dining area.
U-Shaped Kitchen
A U-shaped design provides plenty of storage and worktop space but requires enough room to maintain comfortable circulation.
Island Kitchen
A kitchen island can provide additional preparation space, storage and seating.
However, the room needs enough space around the island for people to move comfortably and for cabinet doors and appliances to open properly.
Step 5: Decide Whether to Keep the Existing Layout
Keeping the existing kitchen layout can help control costs because you may not need to move major plumbing, drainage, gas and electrical connections.
However, keeping a poor layout simply to save money can reduce the long-term value of the renovation.
If the existing arrangement makes the kitchen difficult to use, it may be worth spending more on a better layout.
The best approach is to compare the additional cost of moving services with the practical benefits you will gain.
Step 6: Choose Your Kitchen Cabinets
Cabinetry usually has a major influence on both the appearance and cost of a kitchen.
You can choose from options such as:
- Flat-pack kitchens.
- Ready-made cabinets.
- Semi-bespoke cabinetry.
- Fully bespoke kitchens.
Consider more than the appearance.
Look at:
- Internal storage.
- Cabinet construction.
- Hinges and drawer runners.
- Moisture resistance.
- Door finishes.
- Warranty.
- Available sizes.
- Replacement parts.
Good storage planning can make a bigger difference to everyday use than simply choosing attractive cabinet doors.
Step 7: Choose the Worktops
Your worktop needs to balance appearance, durability and budget.
Popular options include:
- Laminate.
- Timber.
- Quartz.
- Granite.
- Porcelain.
- Solid surface materials.
Consider how heavily you use your kitchen before making a decision.
A family kitchen used every day may benefit from a durable, easy-to-maintain surface, while a less frequently used kitchen may allow more flexibility with materials.
Step 8: Choose Kitchen Appliances
Decide which appliances you need before finalising the cabinet design.
Common kitchen appliances include:
- Ovens.
- Hobs.
- Extractor hoods.
- Fridges and freezers.
- Dishwashers.
- Washing machines.
- Tumble dryers.
- Microwaves.
Check the exact dimensions and installation requirements of your chosen appliances before ordering cabinets.
You should also consider energy efficiency, noise levels, capacity and how frequently you use each appliance.
Step 9: Plan Kitchen Lighting
A good kitchen needs more than one light source.
Consider three main types of lighting:
General Lighting
Ceiling lighting provides overall illumination throughout the room.
Task Lighting
Under-cabinet or focused lighting can illuminate worktops and food preparation areas.
Ambient Lighting
Decorative or softer lighting can make the kitchen more comfortable during evenings and when entertaining.
Plan lighting before plastering and decorating because electrical wiring may need to be installed inside walls or ceilings.
Step 10: Plan Plumbing and Electrical Work
Kitchen renovations often involve several service changes.
Plumbing may be required for:
- Sinks.
- Dishwashers.
- Washing machines.
- Fridges with water connections.
- Water heaters where applicable.
Electrical work may include new sockets, lighting, appliance circuits and other upgrades.
Do not leave service planning until the cabinets have been installed. Plumbing and electrics should be coordinated with the kitchen design from the beginning.
Electrical work should be carried out by a suitably qualified electrician and completed in accordance with applicable requirements.
Step 11: Check Planning Permission and Building Regulations
A straightforward internal kitchen renovation will not normally require planning permission simply because you are replacing the kitchen.
However, planning or building control requirements can arise if you:
- Remove or alter structural walls.
- Change the external appearance.
- Create a kitchen extension.
- Make significant structural alterations.
- Alter certain protected or listed properties.
Building Regulations may apply to structural, electrical, ventilation, drainage and other technical work.
If you are unsure, obtain professional advice before construction begins.
Step 12: Remove the Existing Kitchen
Once the design, materials and trades are organised, the old kitchen can be removed.
Depending on the project, this can involve:
- Removing cabinets and worktops.
- Disconnecting appliances.
- Removing old flooring.
- Taking down tiles.
- Removing unwanted fixtures.
- Preparing walls and floors.
Services should be safely isolated before removal work begins.
This stage can also reveal hidden problems such as damaged flooring, leaks, damp or outdated wiring.
Step 13: Complete Structural Work
If your renovation involves structural changes, these should be completed before the new kitchen is installed.
For example, you may want to remove a wall to create a more open-plan kitchen.
Structural alterations can require calculations and suitable support such as steel beams.
The structural work should be properly designed and inspected where required.
Step 14: Complete First-Fix Plumbing and Electrics
The next stage is usually the first fix.
This is when services are installed or moved before the walls, ceilings and other surfaces are finished.
The plumbing and electrical layout should match the final kitchen design.
This is particularly important for:
- Oven positions.
- Hob locations.
- Extractor systems.
- Dishwasher connections.
- Fridge connections.
- Socket locations.
- Lighting.
- Island power points.
Making changes after the cabinets and worktops are installed can be expensive and disruptive.
Step 15: Prepare the Walls and Floor
Before installing the kitchen, the room should be brought into a suitable condition.
This can include:
- Plastering.
- Repairing damaged walls.
- Levelling floors.
- Waterproofing where necessary.
- Preparing surfaces for tiling or decorating.
- Installing suitable ventilation.
The floor should be sufficiently level before cabinets are fitted.
Step 16: Install the Kitchen Cabinets
Once the room is prepared, the cabinets can be installed.
The installer will typically begin with the base and wall units before fitting doors, drawers and internal components.
Careful installation is important because small errors can affect worktops, appliances and overall alignment.
Step 17: Install the Worktops
Worktops are generally fitted after the cabinets are securely positioned and level.
If you have chosen materials such as quartz, granite or porcelain, accurate measurements and specialist fabrication may be required.
Cut-outs for sinks, hobs and other fixtures need to be planned carefully.
Step 18: Install the Sink, Appliances and Fixtures
The final kitchen equipment can then be installed.
This may include:
- Sink and tap.
- Oven and hob.
- Extractor.
- Dishwasher.
- Fridge or freezer.
- Washing machine.
- Lighting.
- Handles and accessories.
All appliances should be installed according to the manufacturer’s requirements.
Step 19: Complete Tiling, Flooring and Decoration
The finishing stage brings the renovation together.
Depending on your design, this can include:
- Wall tiling.
- Splashbacks.
- Flooring.
- Painting.
- Decorating.
- Skirting.
- Internal doors.
- Decorative lighting.
Choose finishes that complement the cabinets and worktops while also being practical for a kitchen environment.
Step 20: Inspect the Finished Kitchen
Before considering the renovation complete, check everything carefully.
Test:
- Taps and water connections.
- Appliances.
- Lighting.
- Electrical sockets.
- Extractor ventilation.
- Doors and drawers.
- Waste disposal and drainage.
- Heating.
- Flooring and finishes.
Any defects or unfinished items should be identified and addressed before the project is signed off.
How Long Does a Kitchen Renovation Take?
The time required depends on the scope of the work.
A simple kitchen replacement may take only a few weeks, while a complete renovation involving structural changes, new services and bespoke cabinetry can take considerably longer.
A typical full renovation may involve:
- Design and planning before construction.
- Removal of the existing kitchen.
- Structural and preparation work.
- Plumbing and electrical installation.
- Cabinet and worktop installation.
- Appliance installation.
- Flooring, tiling and decorating.
- Final testing and finishing.
Your contractor should provide a realistic programme before work begins.
How Can You Renovate a Kitchen on a Budget?
You do not always need a completely new layout or premium materials to achieve a significant improvement.
- Keeping the existing plumbing and appliance positions can reduce the cost of moving services.
- Replacing cabinet doors instead of the complete cabinets can work well when the existing units are structurally sound.
- Choosing laminate worktops can provide a practical finish at a lower cost than many natural or engineered stone options.
- Comparing appliance specifications can help you avoid paying for features you are unlikely to use.
- Planning the entire project before ordering materials can reduce waste and expensive changes.
- Investing more in high-use items such as worktops, hinges and drawer systems can provide better long-term value than spending heavily on purely decorative features.
Common Kitchen Renovation Mistakes to Avoid
Poor Layout Planning
A kitchen can look beautiful but still be frustrating if appliances, storage and work areas are badly positioned.
Underestimating Storage
Consider how much cookware, food, appliances and everyday equipment you actually need to store.
Choosing Materials Based Only on Appearance
Kitchen surfaces need to cope with heat, moisture, spills, cleaning and everyday wear.
Forgetting About Lighting
Insufficient task lighting can make food preparation difficult even in an attractive kitchen.
Changing the Design During Construction
Late changes can increase labour and material costs and may delay the project.
Buying Appliances Too Late
Appliance dimensions and service requirements can affect the entire kitchen design, so they should be selected early.
Ignoring Ventilation
A suitable extractor and ventilation strategy can help control moisture, cooking smells and condensation.
Should You Renovate or Replace Your Kitchen?
Renovation can be worthwhile when the existing kitchen has a fundamentally suitable layout but looks tired or needs modernising.
A more extensive replacement may be appropriate when:
- Cabinets are damaged or poorly constructed.
- The layout no longer works for your household.
- Storage is inadequate.
- Plumbing and electrics need substantial upgrading.
- Appliances are outdated.
- The room needs structural changes.
If the existing layout works well, a targeted renovation can deliver a major improvement without the cost of completely redesigning the space.
Is a Kitchen Renovation Worth It?
A well-planned kitchen renovation can improve both your daily experience and the appeal of your home.
The biggest benefit is often not simply potential property value but improved functionality.
A successful renovation can give you:
- Better storage.
- More practical preparation space.
- Improved lighting.
- More efficient appliances.
- A layout that suits your lifestyle.
- A more comfortable space for cooking and entertaining.
- A modern finish that complements the rest of the property.
However, you should avoid spending significantly more than the property and local market can reasonably support.
Final Words
Knowing how to renovate a kitchen helps you make better decisions before work begins. Start with the way you use the room, then develop the layout, budget and specification around those needs.
Plan your cabinets, appliances, lighting, plumbing and electrics together rather than treating them as separate decisions. Check any planning or Building Regulations requirements early, choose an experienced contractor and allow some contingency in your budget.
Whether you are making a few targeted improvements or completing a full kitchen refurbishment, careful planning can help you create a kitchen that is practical, durable and suited to your home.